Transforming a ’68 Charger: Full Chassis and Floor Install with Speedtech Performance
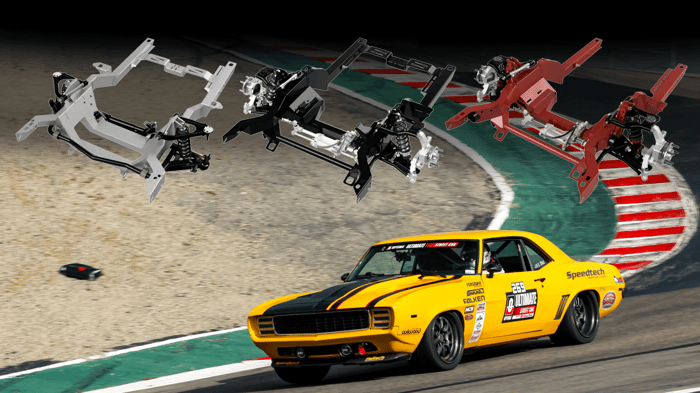
When it comes to creating a true Pro Touring machine, there’s no better foundation than a modern chassis. In our latest three-part video series, we take you behind the scenes of a ground-up transformation of a 1968 Dodge Charger using Speedtech Performance’s full weld-in chassis and floor system. From the initial cuts to the final welds, this project showcases the precision and process it takes to bring new life—and serious performance potential—to a classic Mopar icon.
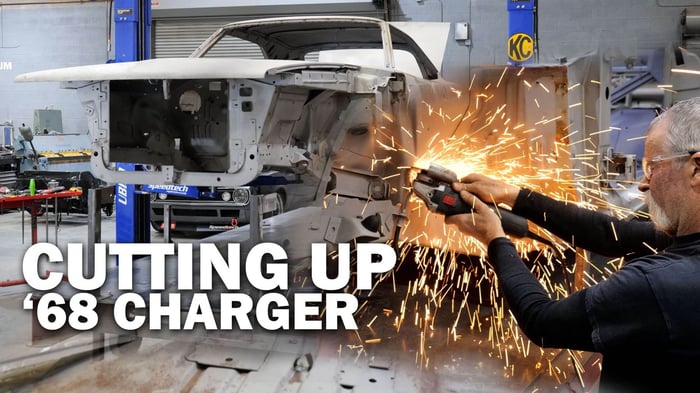
Part 1: Cutting Out the Old
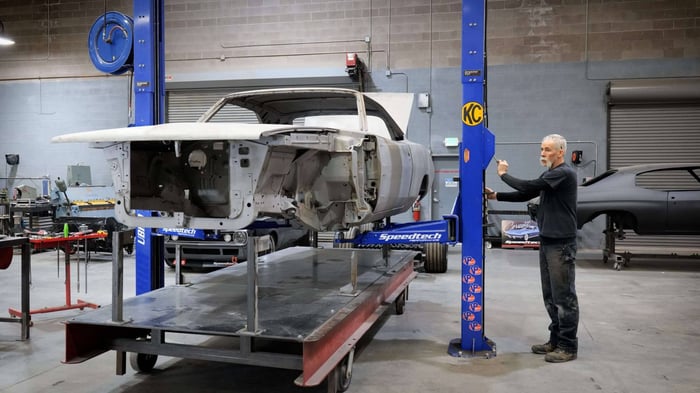
The first video kicks off with Cameron introducing the project—a bare shell of a ’68 Charger, fresh from sandblasting. That step is critical, as it exposes hidden rust and damage that would compromise a high-performance build. In this case, nearly every panel had issues, so getting down to clean metal was a must.
Once the body was mounted securely to a custom frame table to ensure structural alignment, the disassembly began. Hood, trunk lid, and doors came off to allow access for precise measuring and marking.
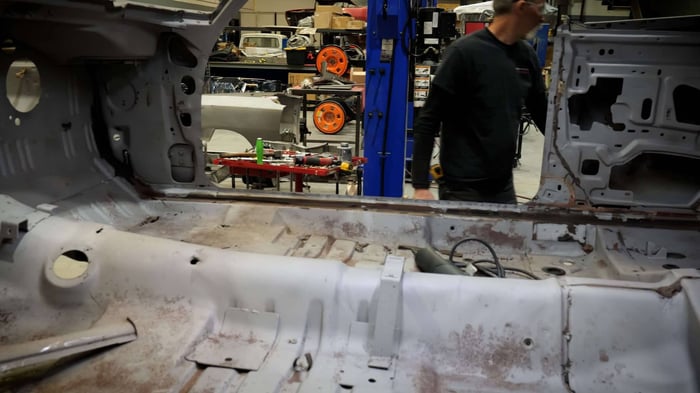
From there, the real work started: cutting out the factory floor, trunk, and sections of the firewall. Following detailed instructions, the team marked key reference points—including measurements from factory mounting holes—to guide their cuts. The process includes cutting through the factory frame rails and carefully separating the layered panels at the firewall and tunnel.
With the floor gone, they cleaned up the inside rockers, trimmed tabs, and smoothed surfaces in preparation for the new chassis install. It’s not just about cutting metal—attention to detail here ensures a precise fit and clean welds later on. The final step in this phase was applying weld-through primer to all exposed metal, both on the car and the chassis parts, to protect against corrosion before the structure comes together.
Part 2: Mock-Up and Fitment
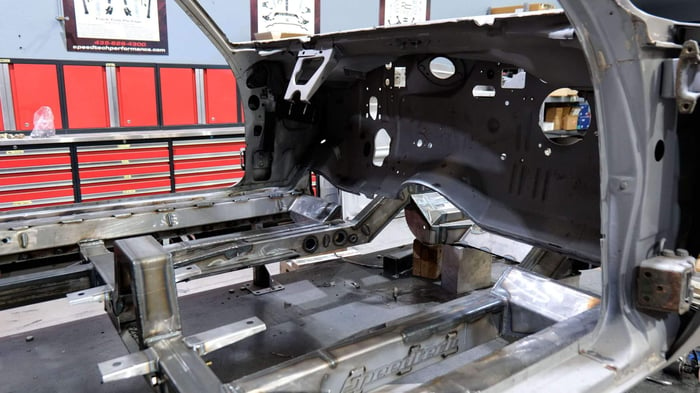
Part two dives into the mock-up phase. With the original floor gone and everything prepped, it’s time to test-fit the Speedtech full chassis. The first component to go in is the T-plate, which acts as a base plate for the rest of the chassis install. Its orientation is critical—specific holes line up with factory seat anchors to ensure alignment.
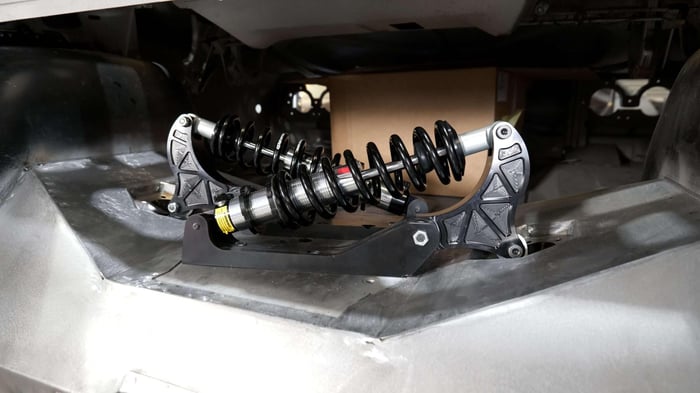
Once the T-plate is in place, the full chassis is dry-fitted into the shell. This is where it gets exciting: suspension components are temporarily installed to verify wheel positioning in the wheel openings, front and rear. Mocking up the control arms and spindles ensures the quarters and fenders line up correctly and that the wheels will sit just right once the car is back on the ground.
After confirming the fit, the team removes the chassis again to begin the stitch welding process. Carefully spaced welds are applied along the rockers and subframe, using a methodical back-and-forth pattern to avoid heat warping. One cool feature here is the “window” tabs designed to tie the chassis into the factory rockers. These tabs are bent and welded in place, reinforced by filler plates and spot welds for maximum strength.
With everything tacked in, lower rocker reinforcement plates are added. These are also carefully aligned using notches designed into the part, further locking in the chassis with factory sheet metal. Once again, weld-through primer is used throughout to preserve long-term durability.

Part 3: Welding it All Home
The third video brings it all together. With the chassis mocked up and all measurements triple-checked, the team commits to final welding. Every major connection point is stitched in, including those critical rocker ties and the subframe rails.
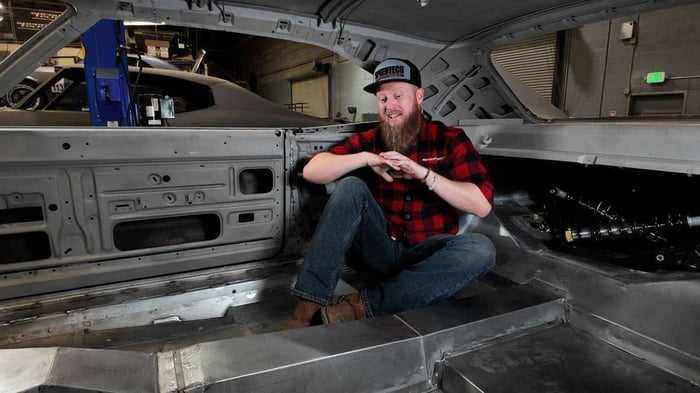
From there, the focus shifts to the rear of the car. Custom inner wheel tubs are installed to accommodate wider rubber—an essential element for any Pro Touring build. The tubs are first test-fit, trimmed, and then welded in after ensuring full clearance and symmetry on both sides. Welds are ground smooth to prepare for seam sealing and paint.
Then comes the floor and tunnel kit install. These pre-formed panels are designed to drop into place over the chassis rails, restoring the Charger’s structure with modern geometry and strength. Each panel is carefully positioned and welded in using the same stitch method, ensuring a clean finish and tight integration with the chassis. Finally, seam sealer is applied to all joints to protect against moisture and further reinforce structural rigidity.
The Result: A Modern Foundation for a Classic Icon
With the chassis fully installed and the new floor and tunnel in place, this ’68 Charger now has the bones of a modern performance machine. It’s an exciting transformation—one that any seasoned builder knows sets the stage for everything that comes next, from suspension tuning to engine install to track-day testing.
If you haven’t seen the series yet, head over to our YouTube channel and check out the full process. Whether you’re looking to upgrade your own classic Mopar or just love watching a muscle car get a new lease on life, this build delivers the goods.